Make Hand Rolled Beeswax Candles with Kids While Embracing the Seasons

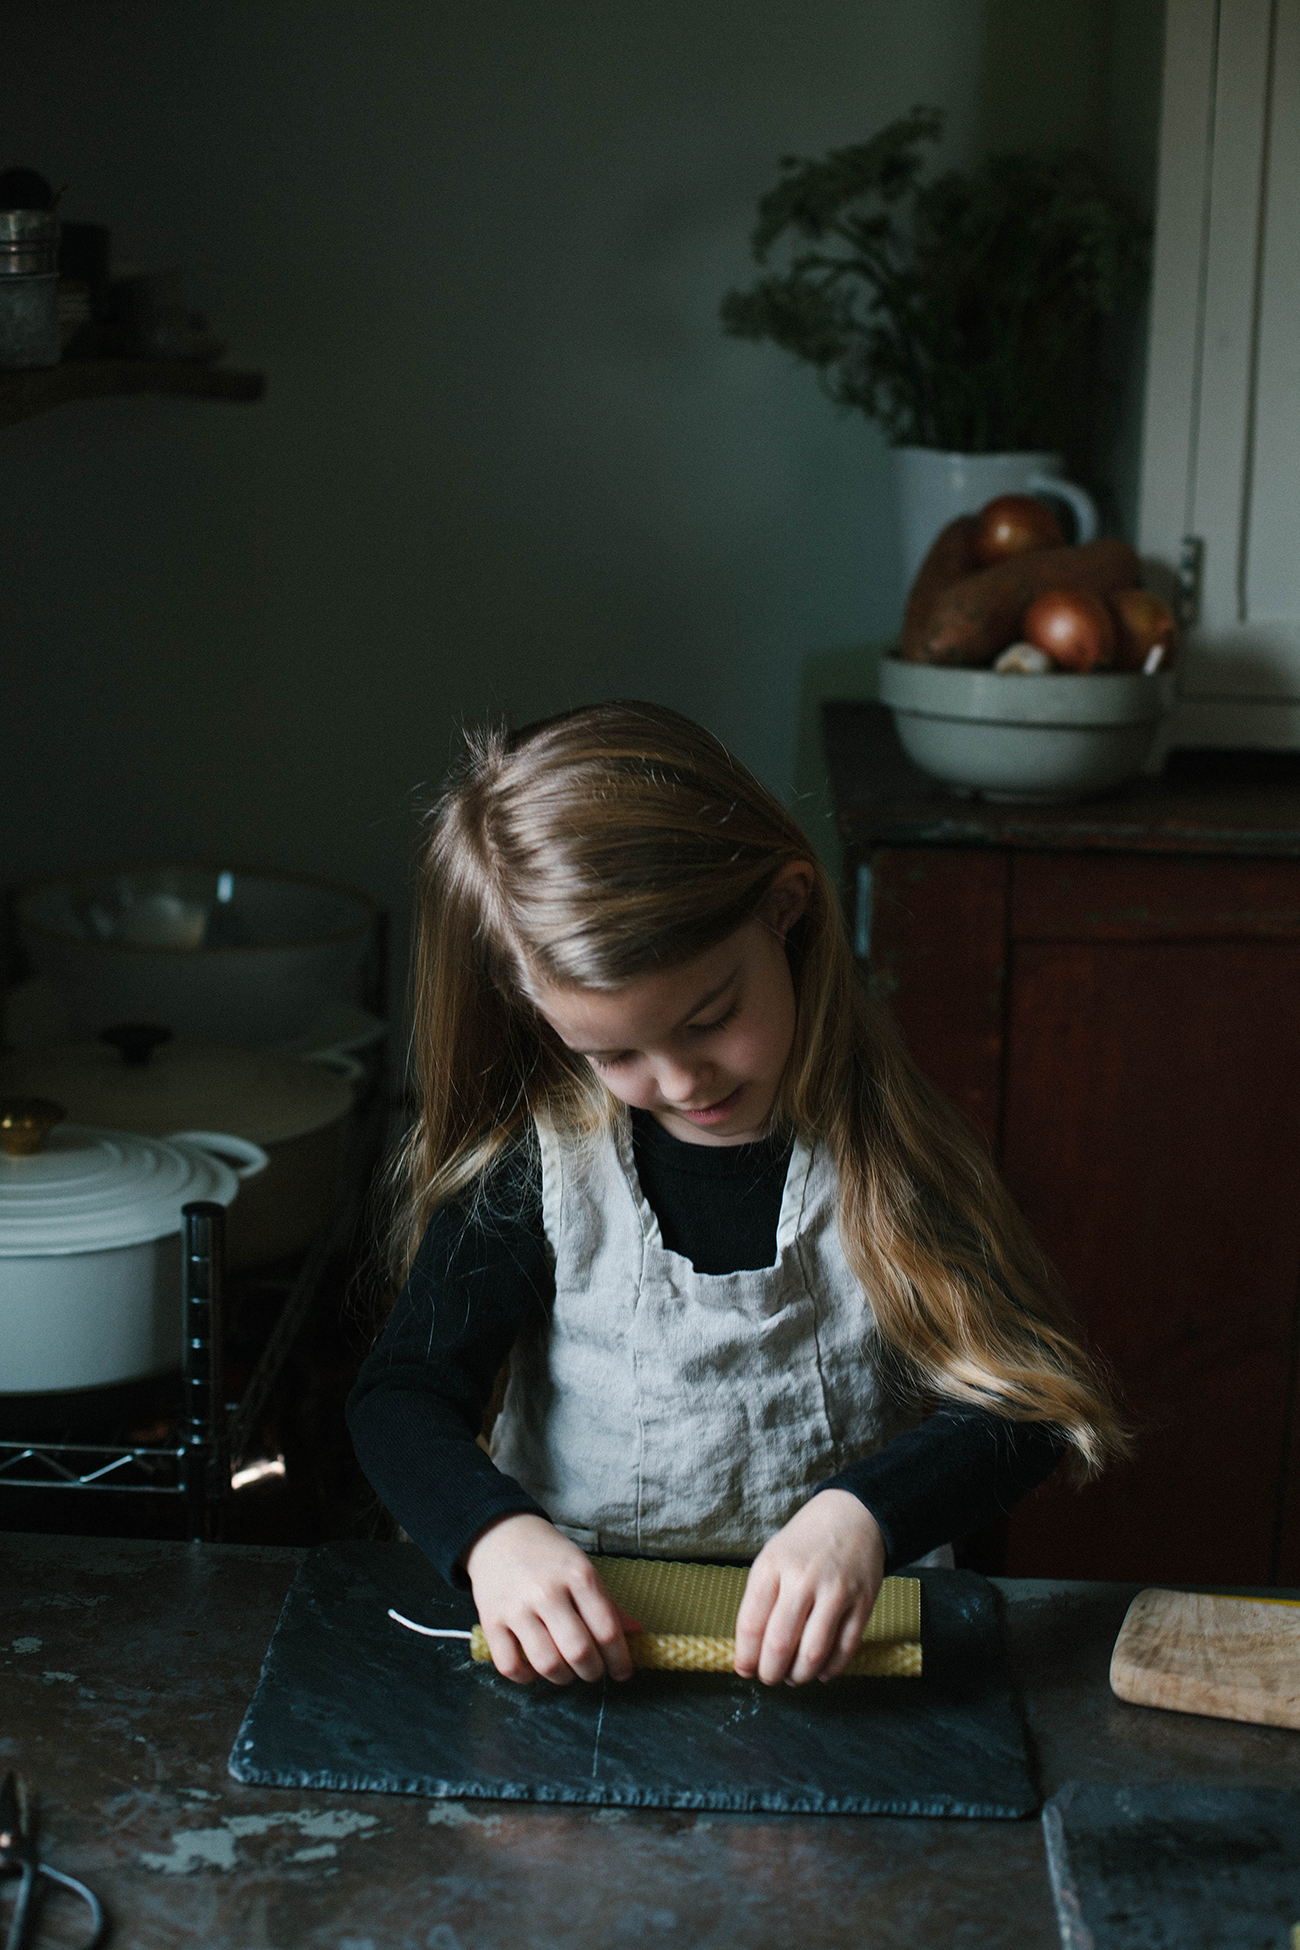
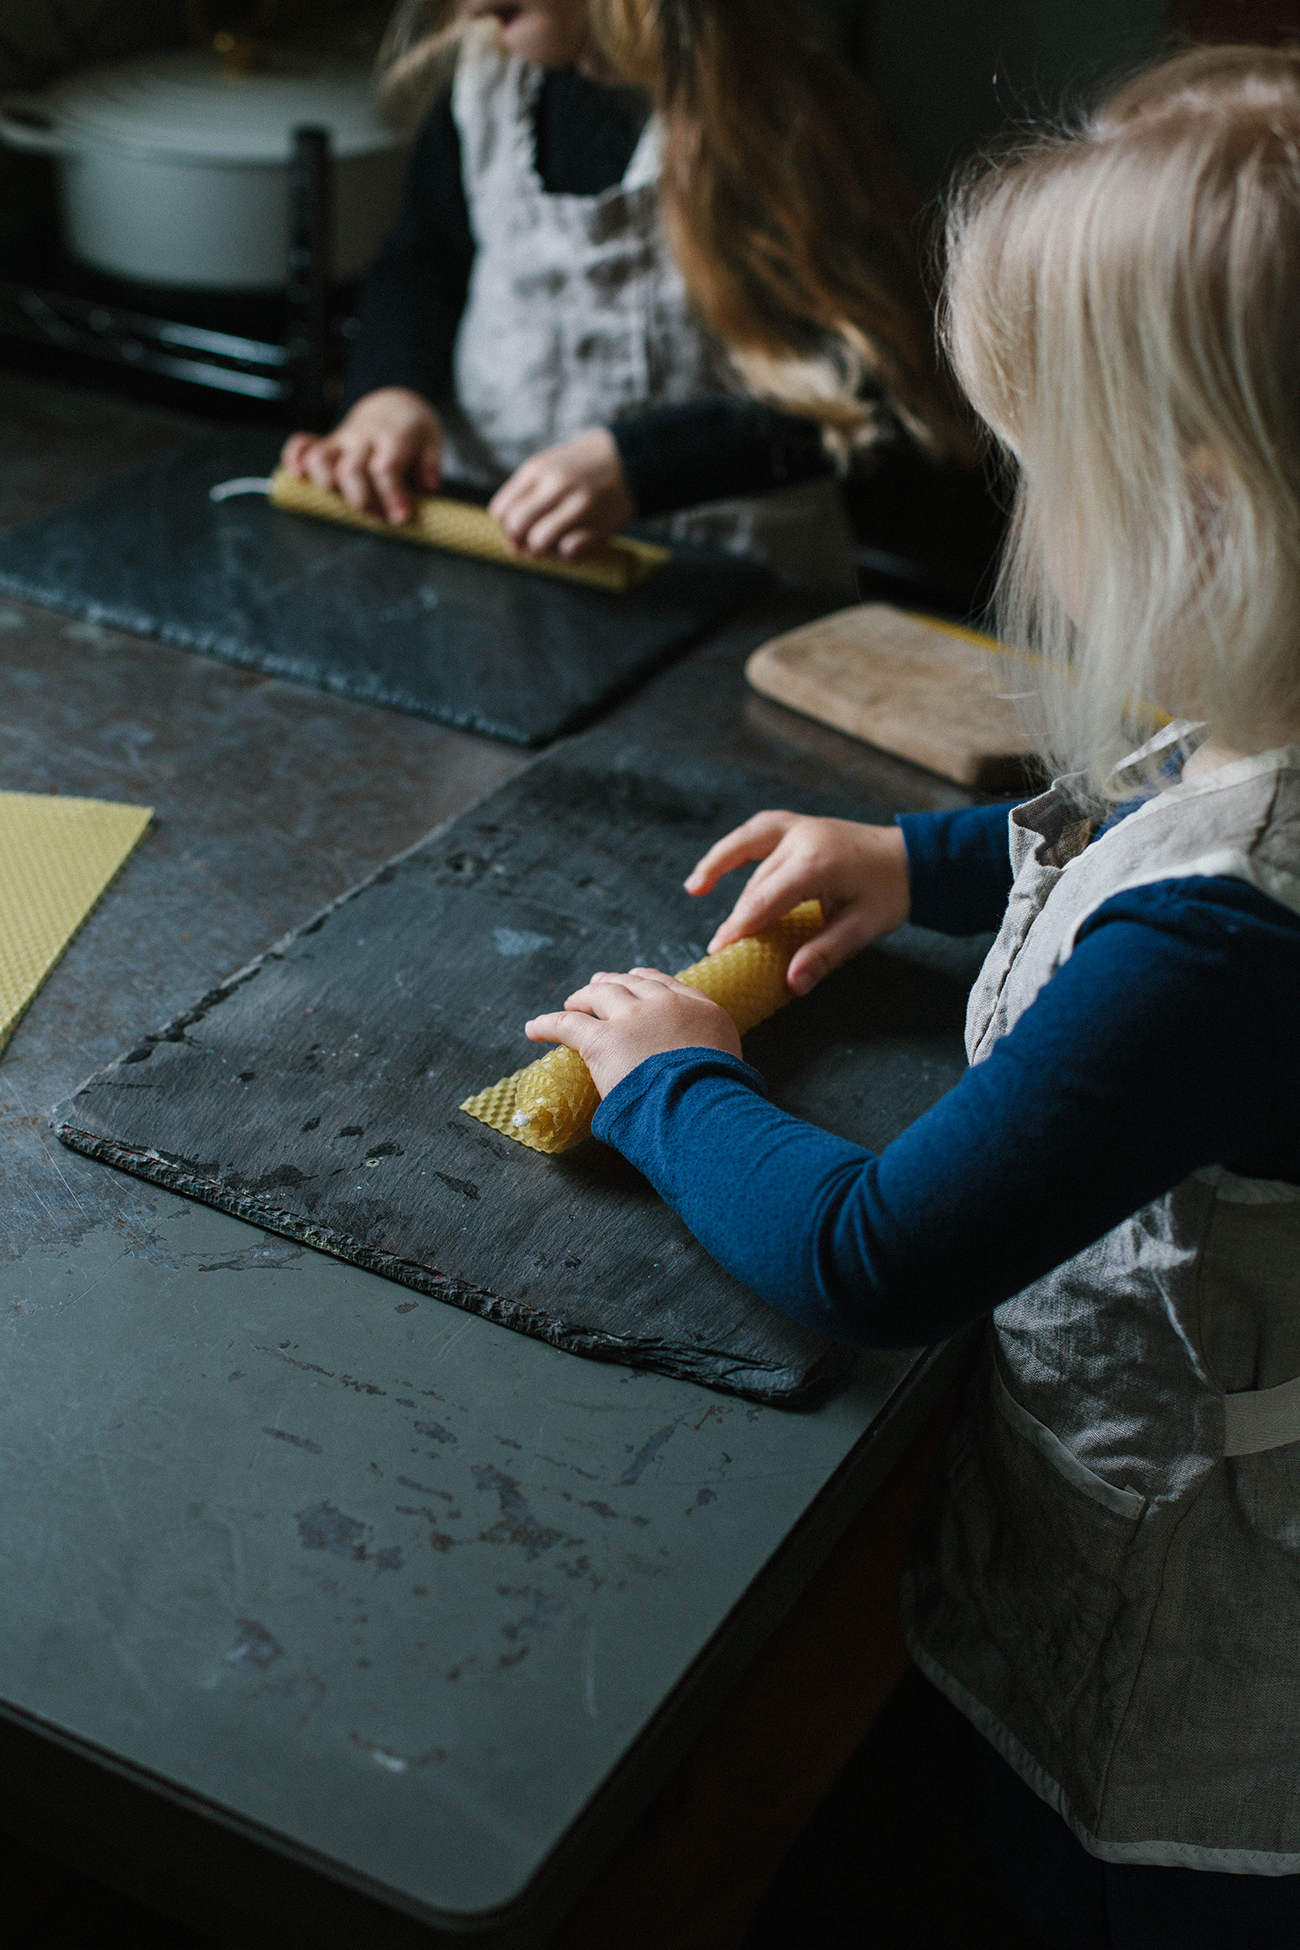
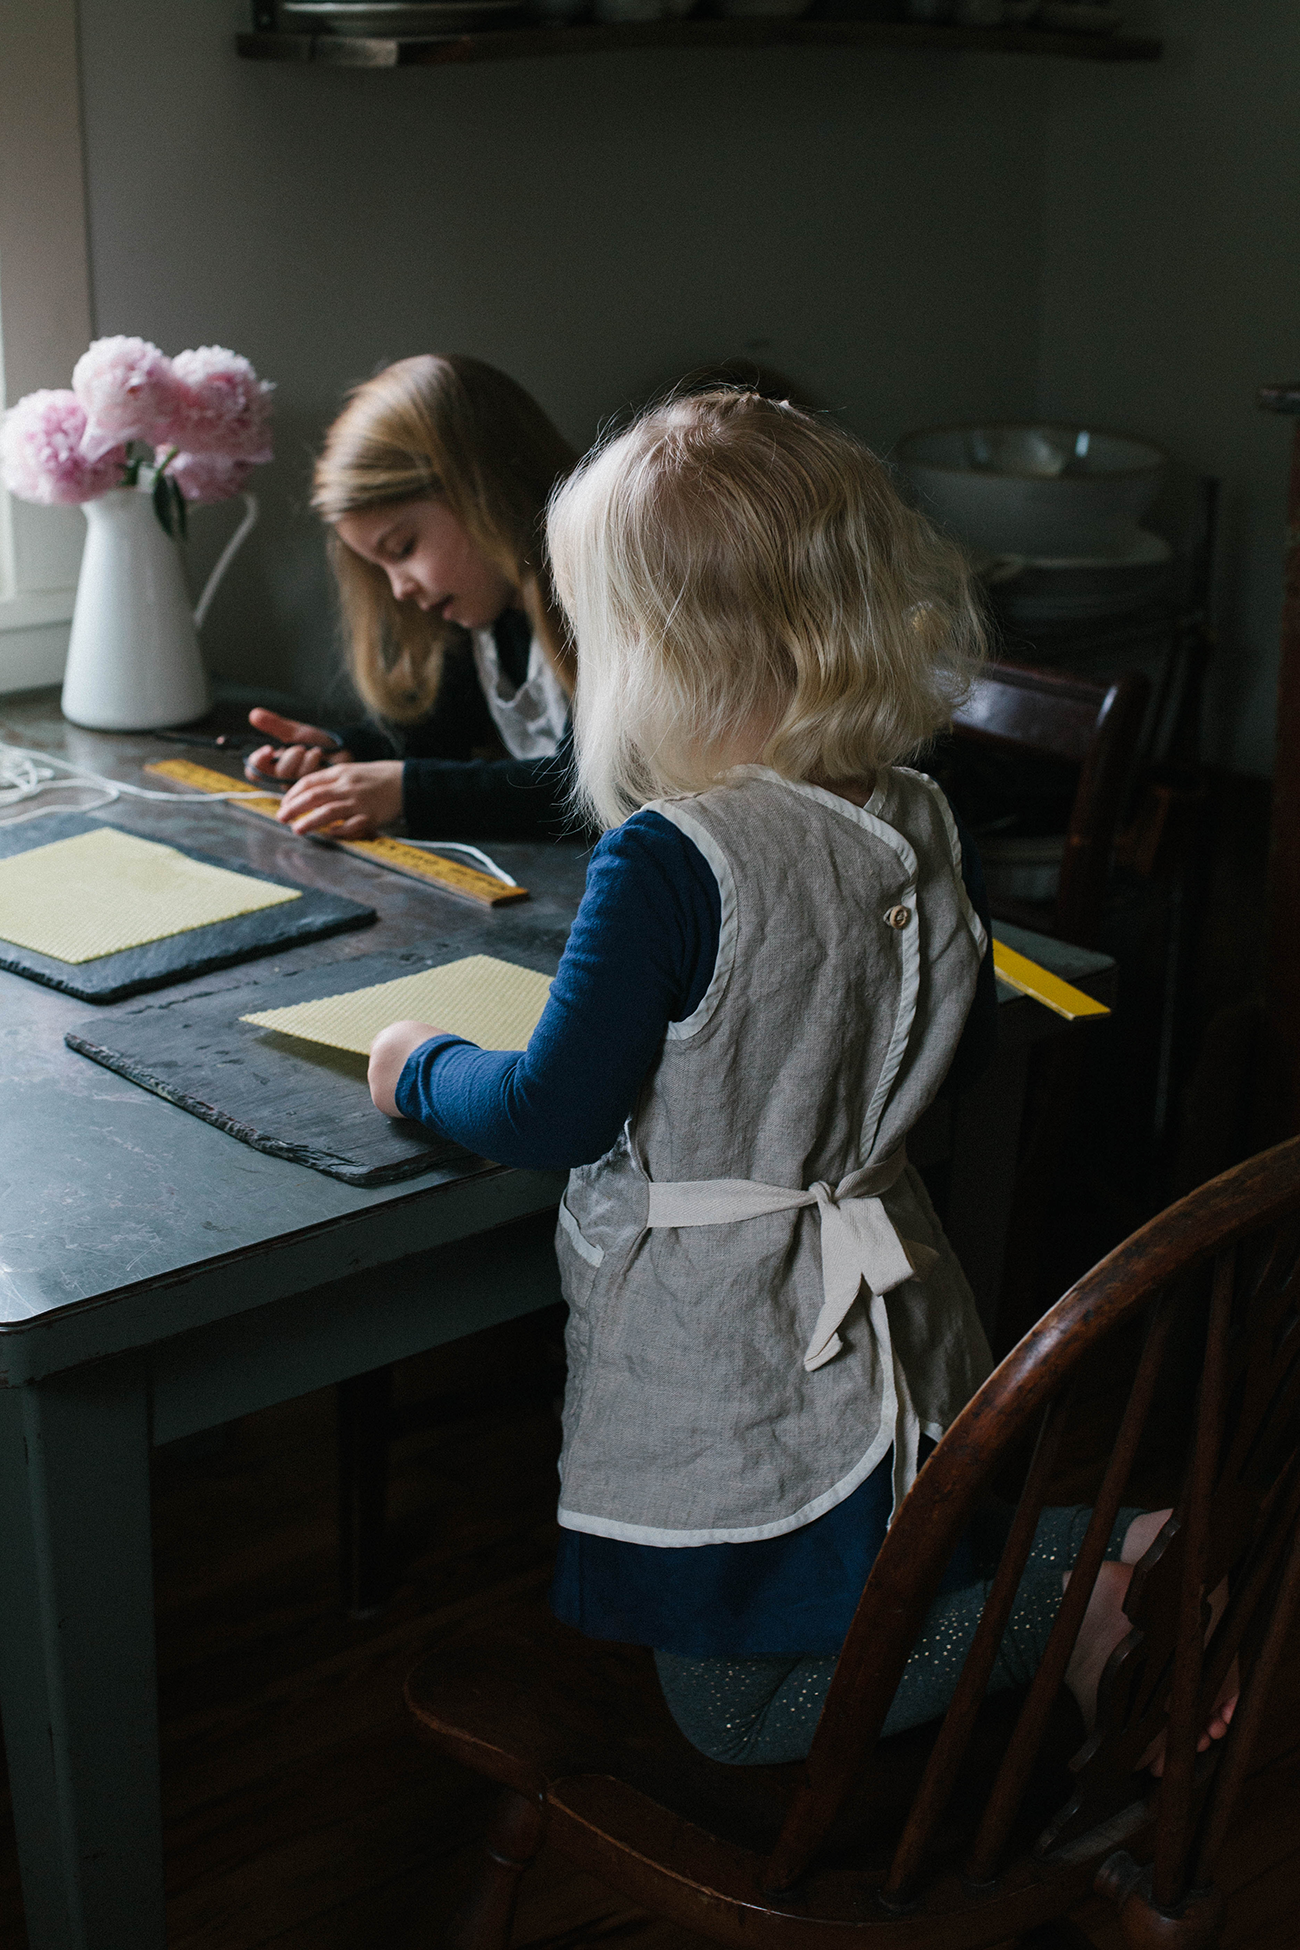
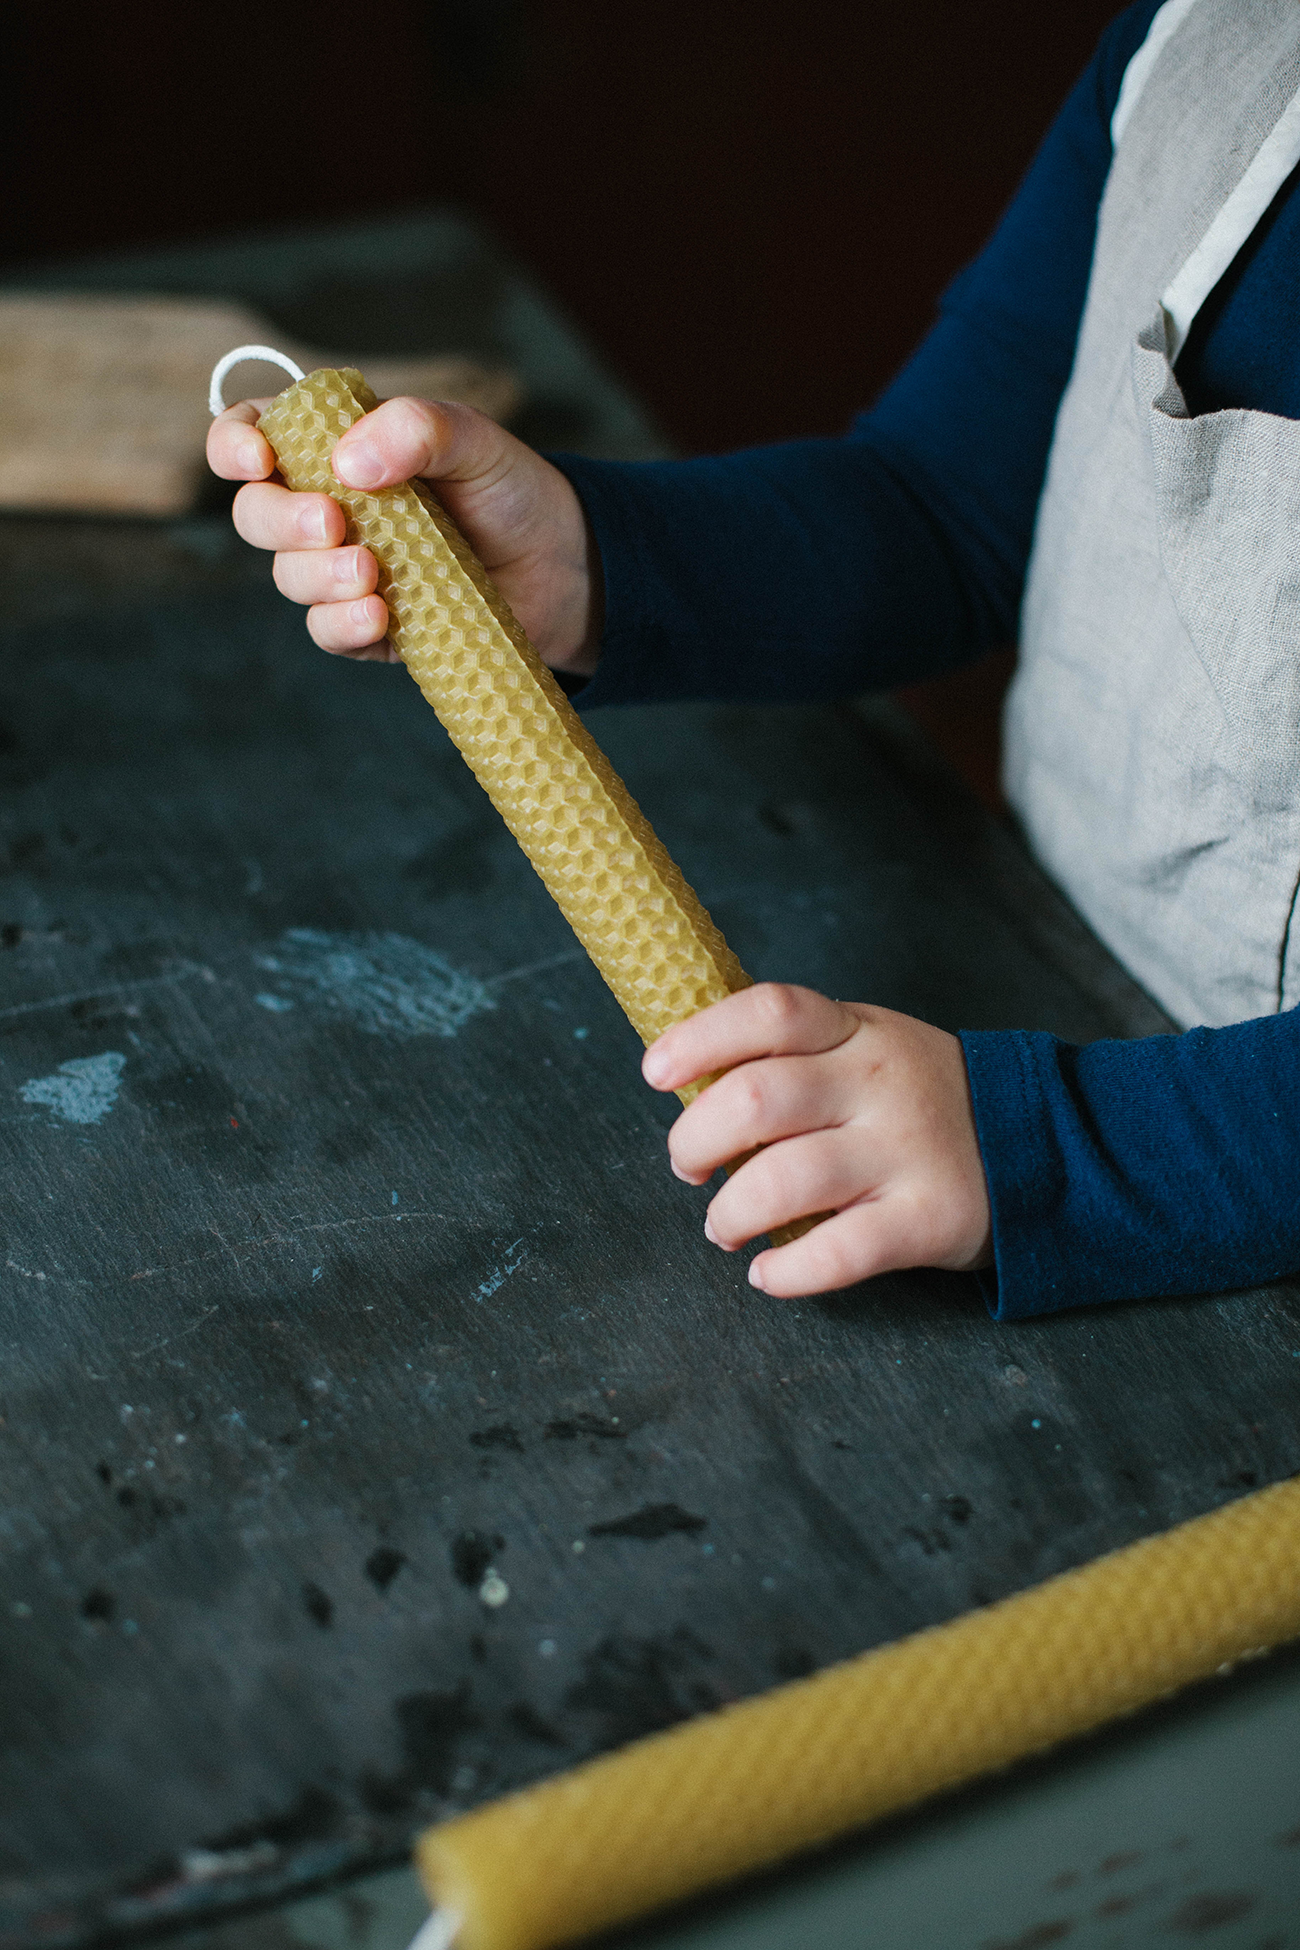
 Every year I manage to forget how spring plays with our emotions for a solid month. In the high 70s one day, snowing the next. From hauling boxes marked SPRING down from the attic and cleaning out the girls’ drawers over the weekend, to freezing rain on Monday. This back and forth is totally normal and I should be used to it by now, 31 years as an East-coaster, but I’m just not. I do love how there is SO MUCH build up to actual, consistent warm weather, though. And a heavy dose of cleaning out and organizing and planning all the things for spring!
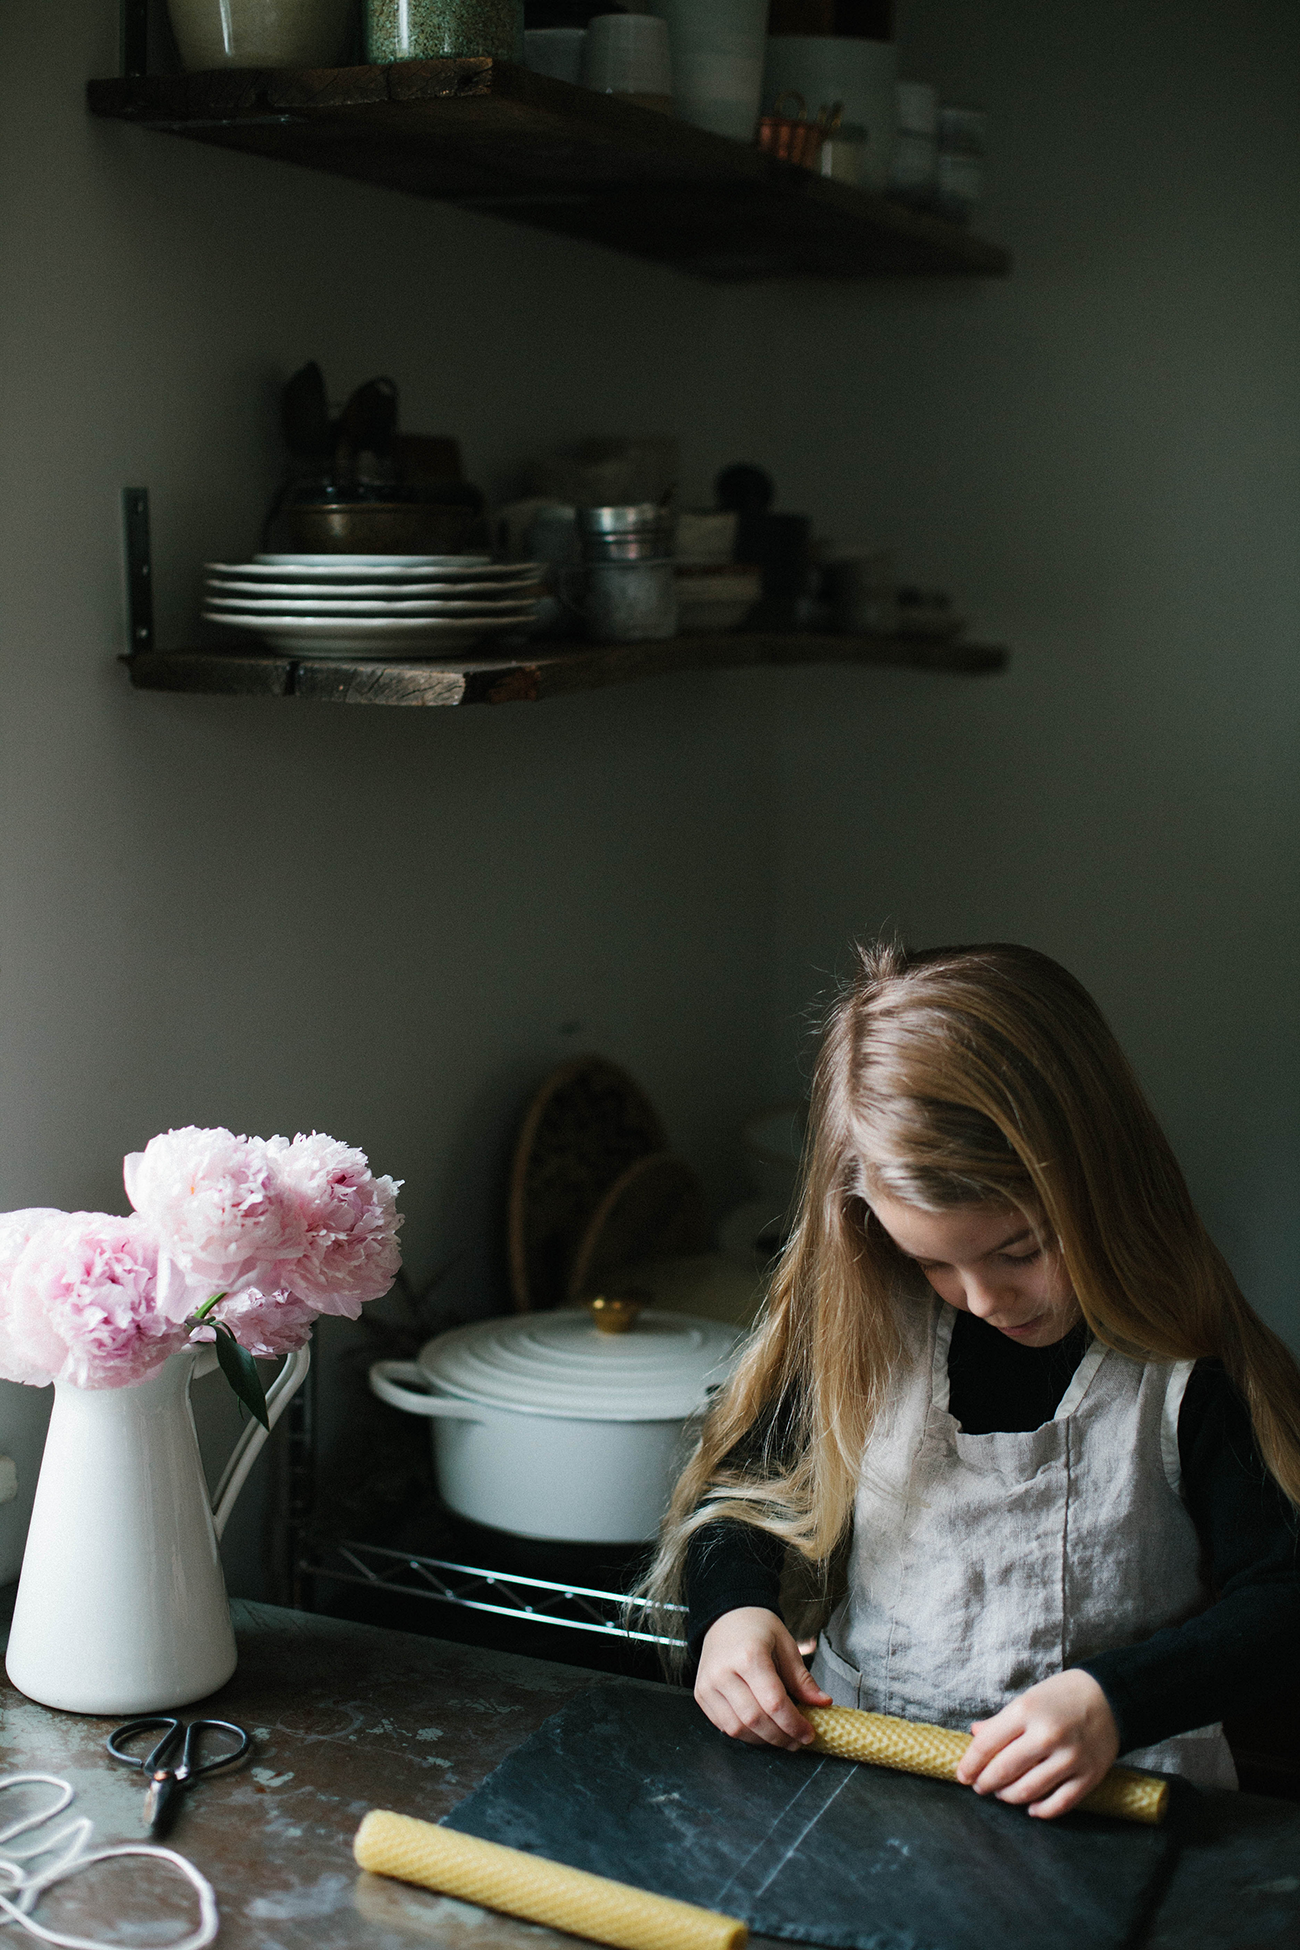
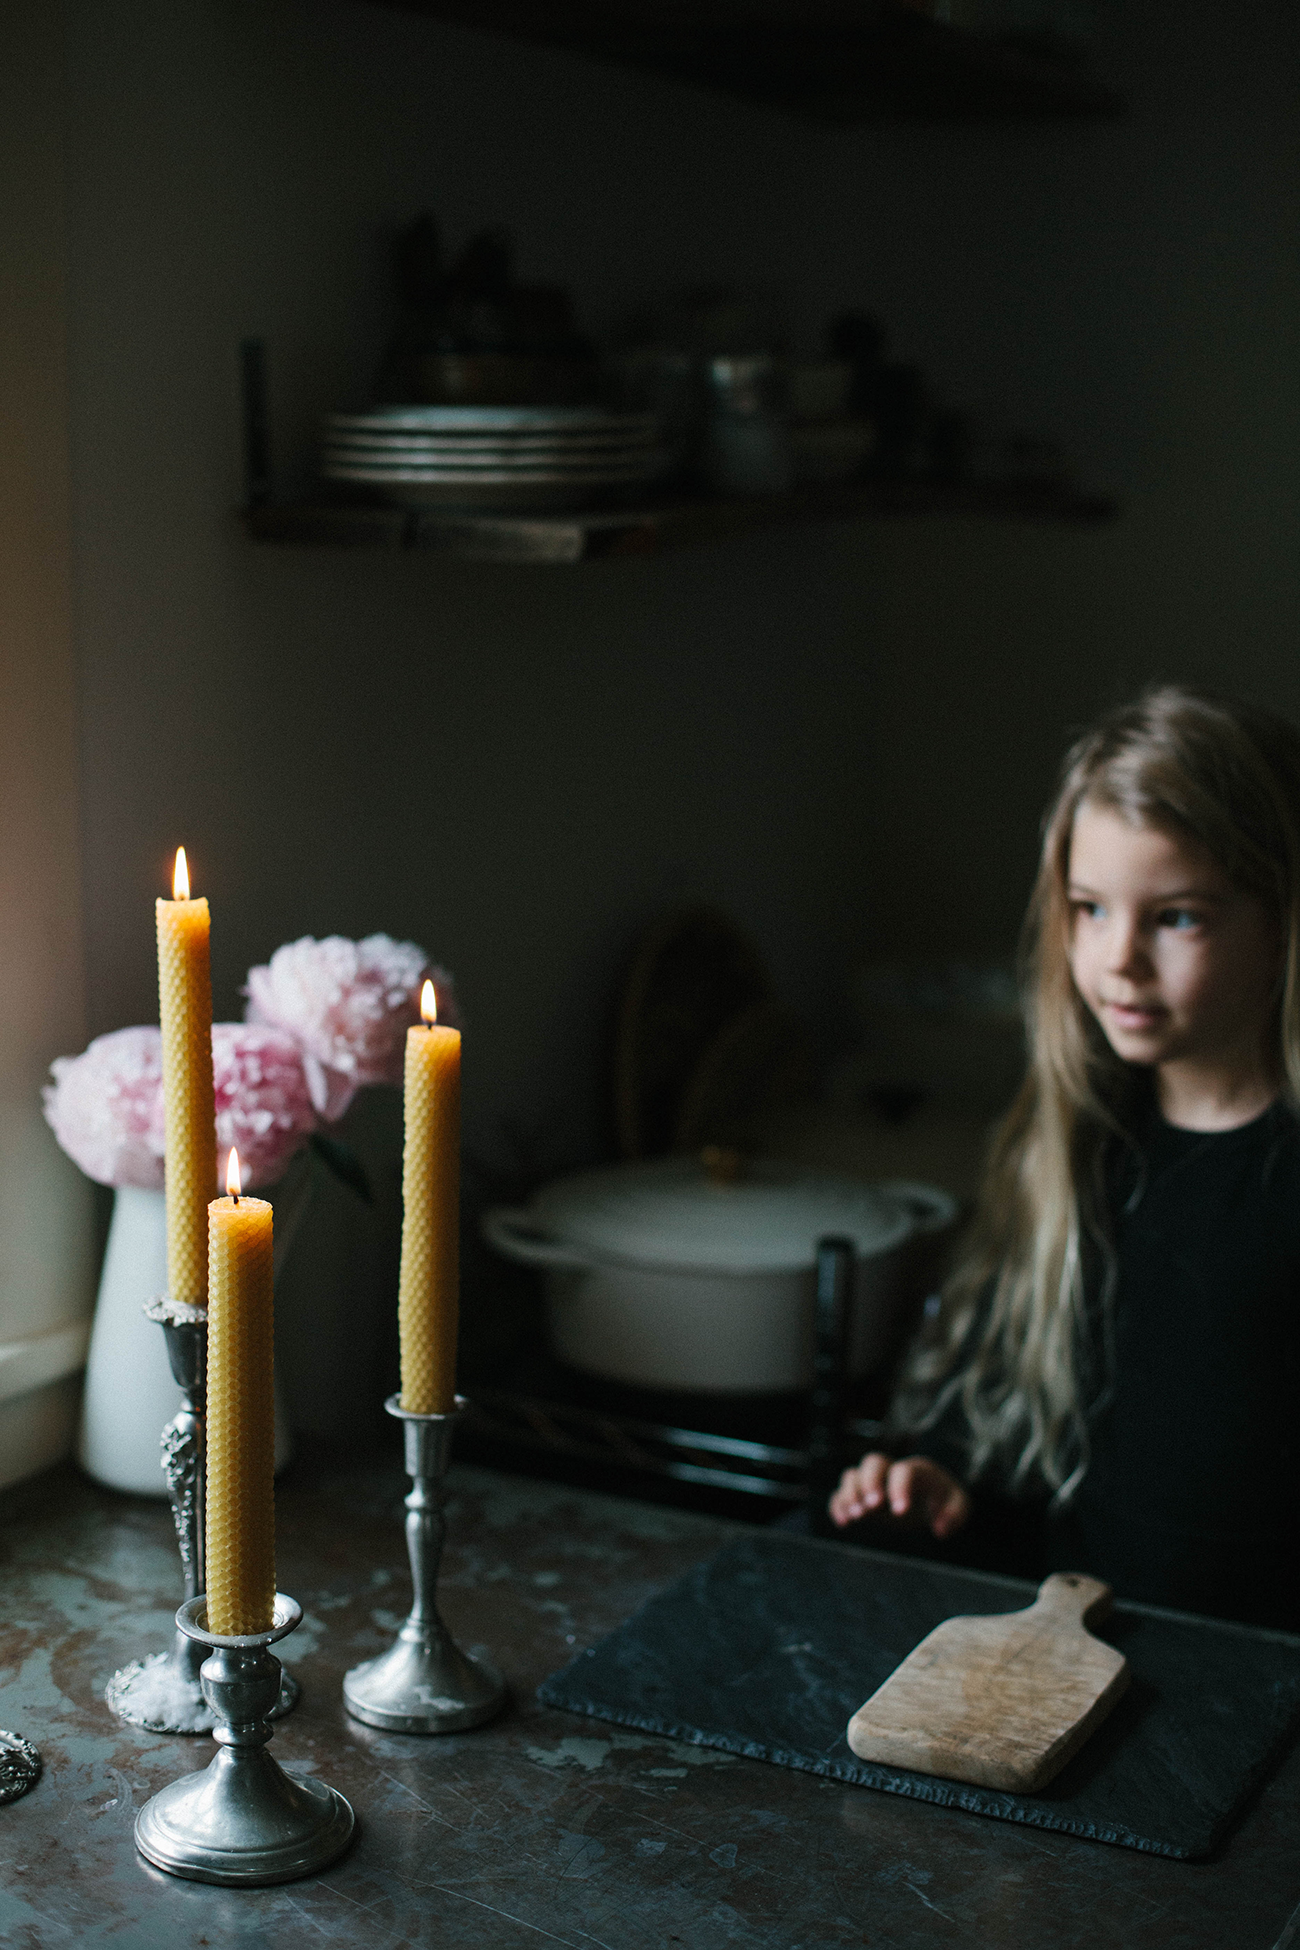
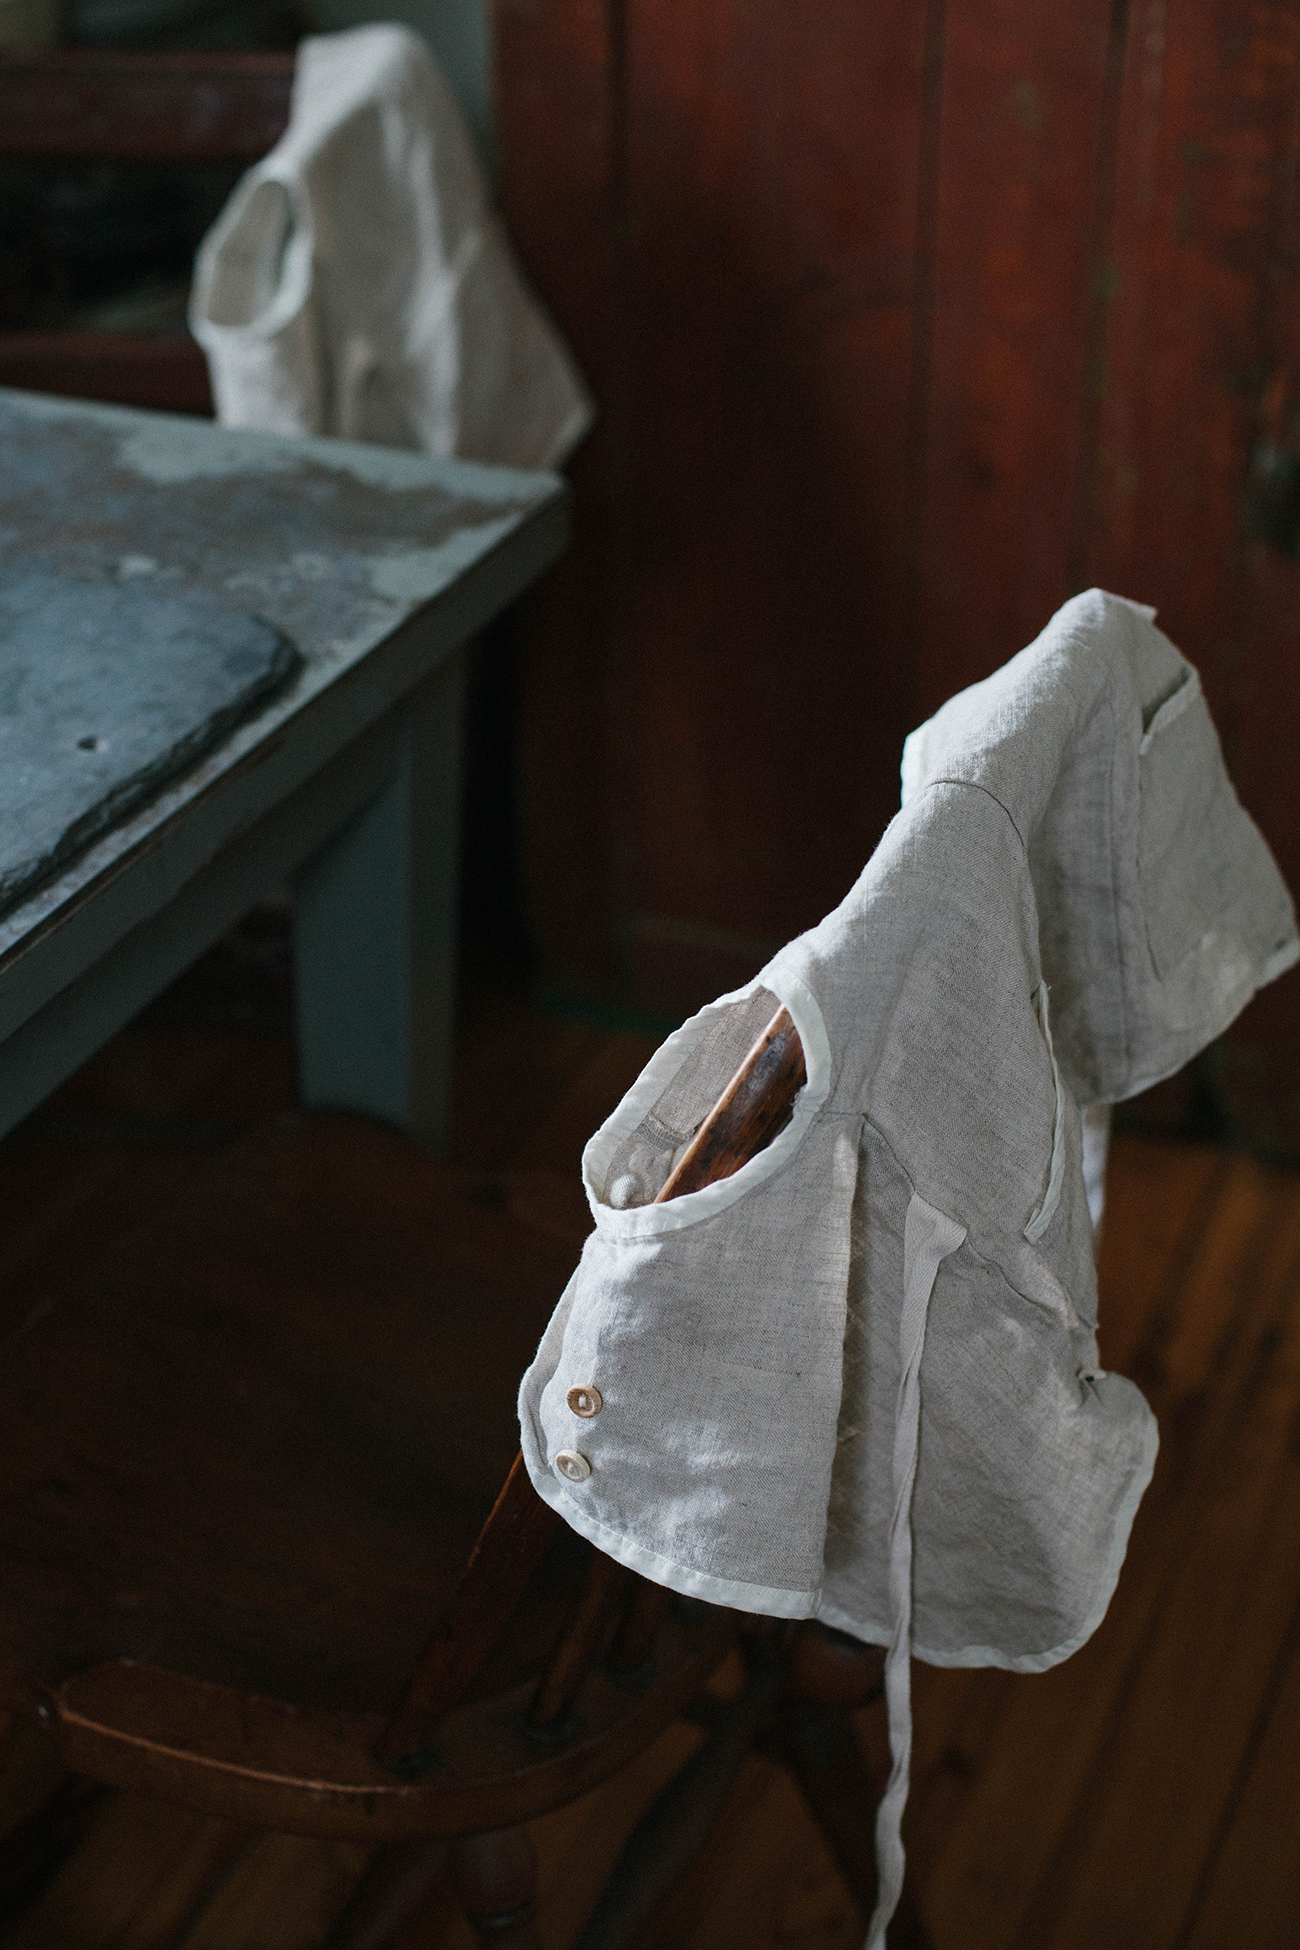
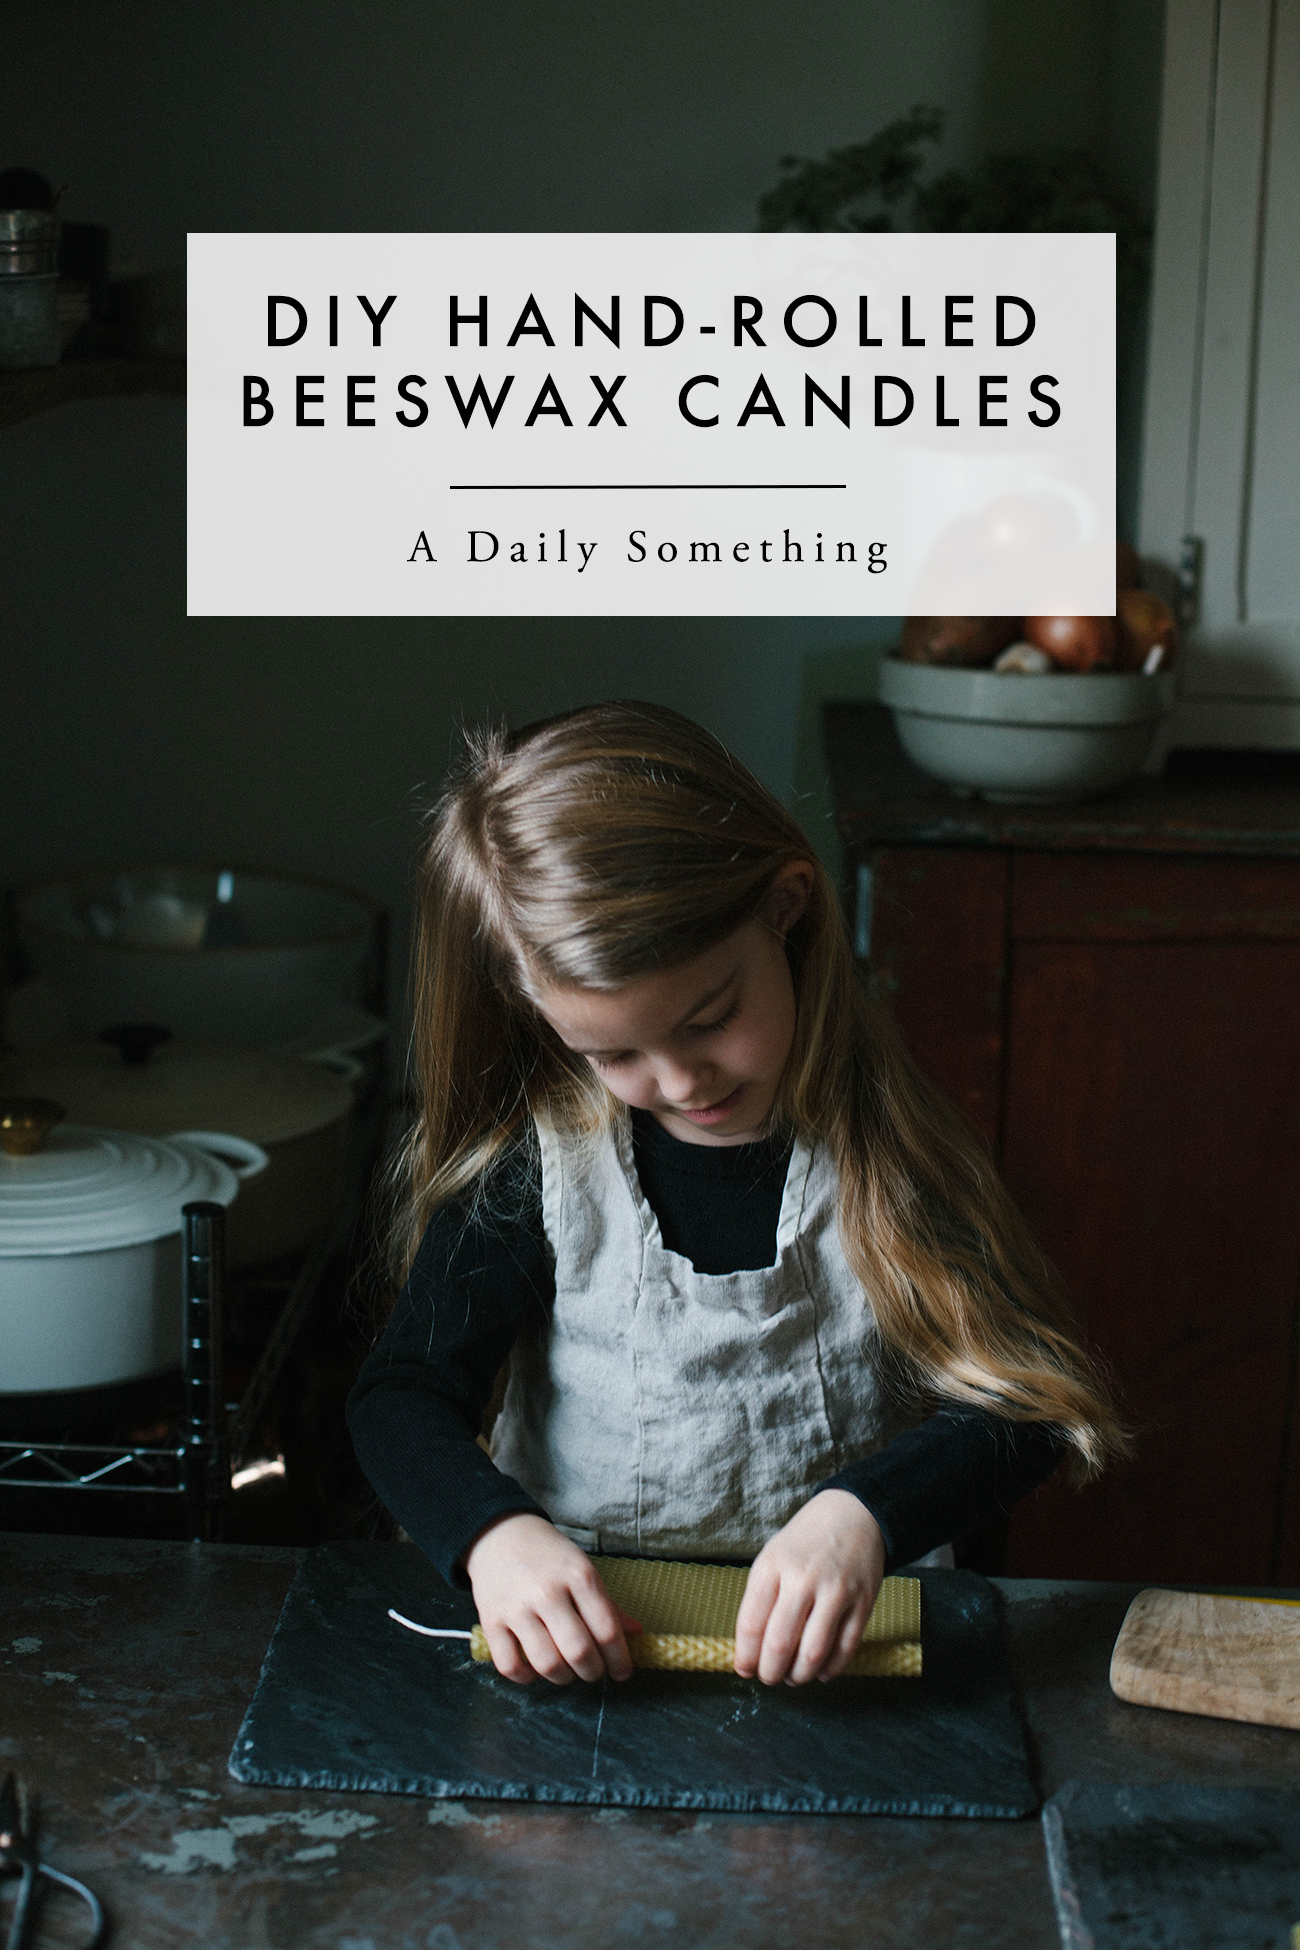
And although spring is inevitable, I’m trying my best to make the most of, and continue to embrace the season I’m in right now. Cozy, dreary mornings at home with my children, stuck inside because of the freezing rain. Mugs full of luke warm (the only way they’ll drink it) hot cocoa, adorned in the most precious linen task aprons (from Tortoise & the Hare), and rolling beeswax candles around our kitchen table. Because they’ll only be 4 1/2 and 3 once. Cherishing this time with my two girls in this precious season and trying not to yearn for something else. Something brighter. Easier. Something warmer. Loving where I am right now with them. And trying to teach them to love where they are.
Ah, motherhood.
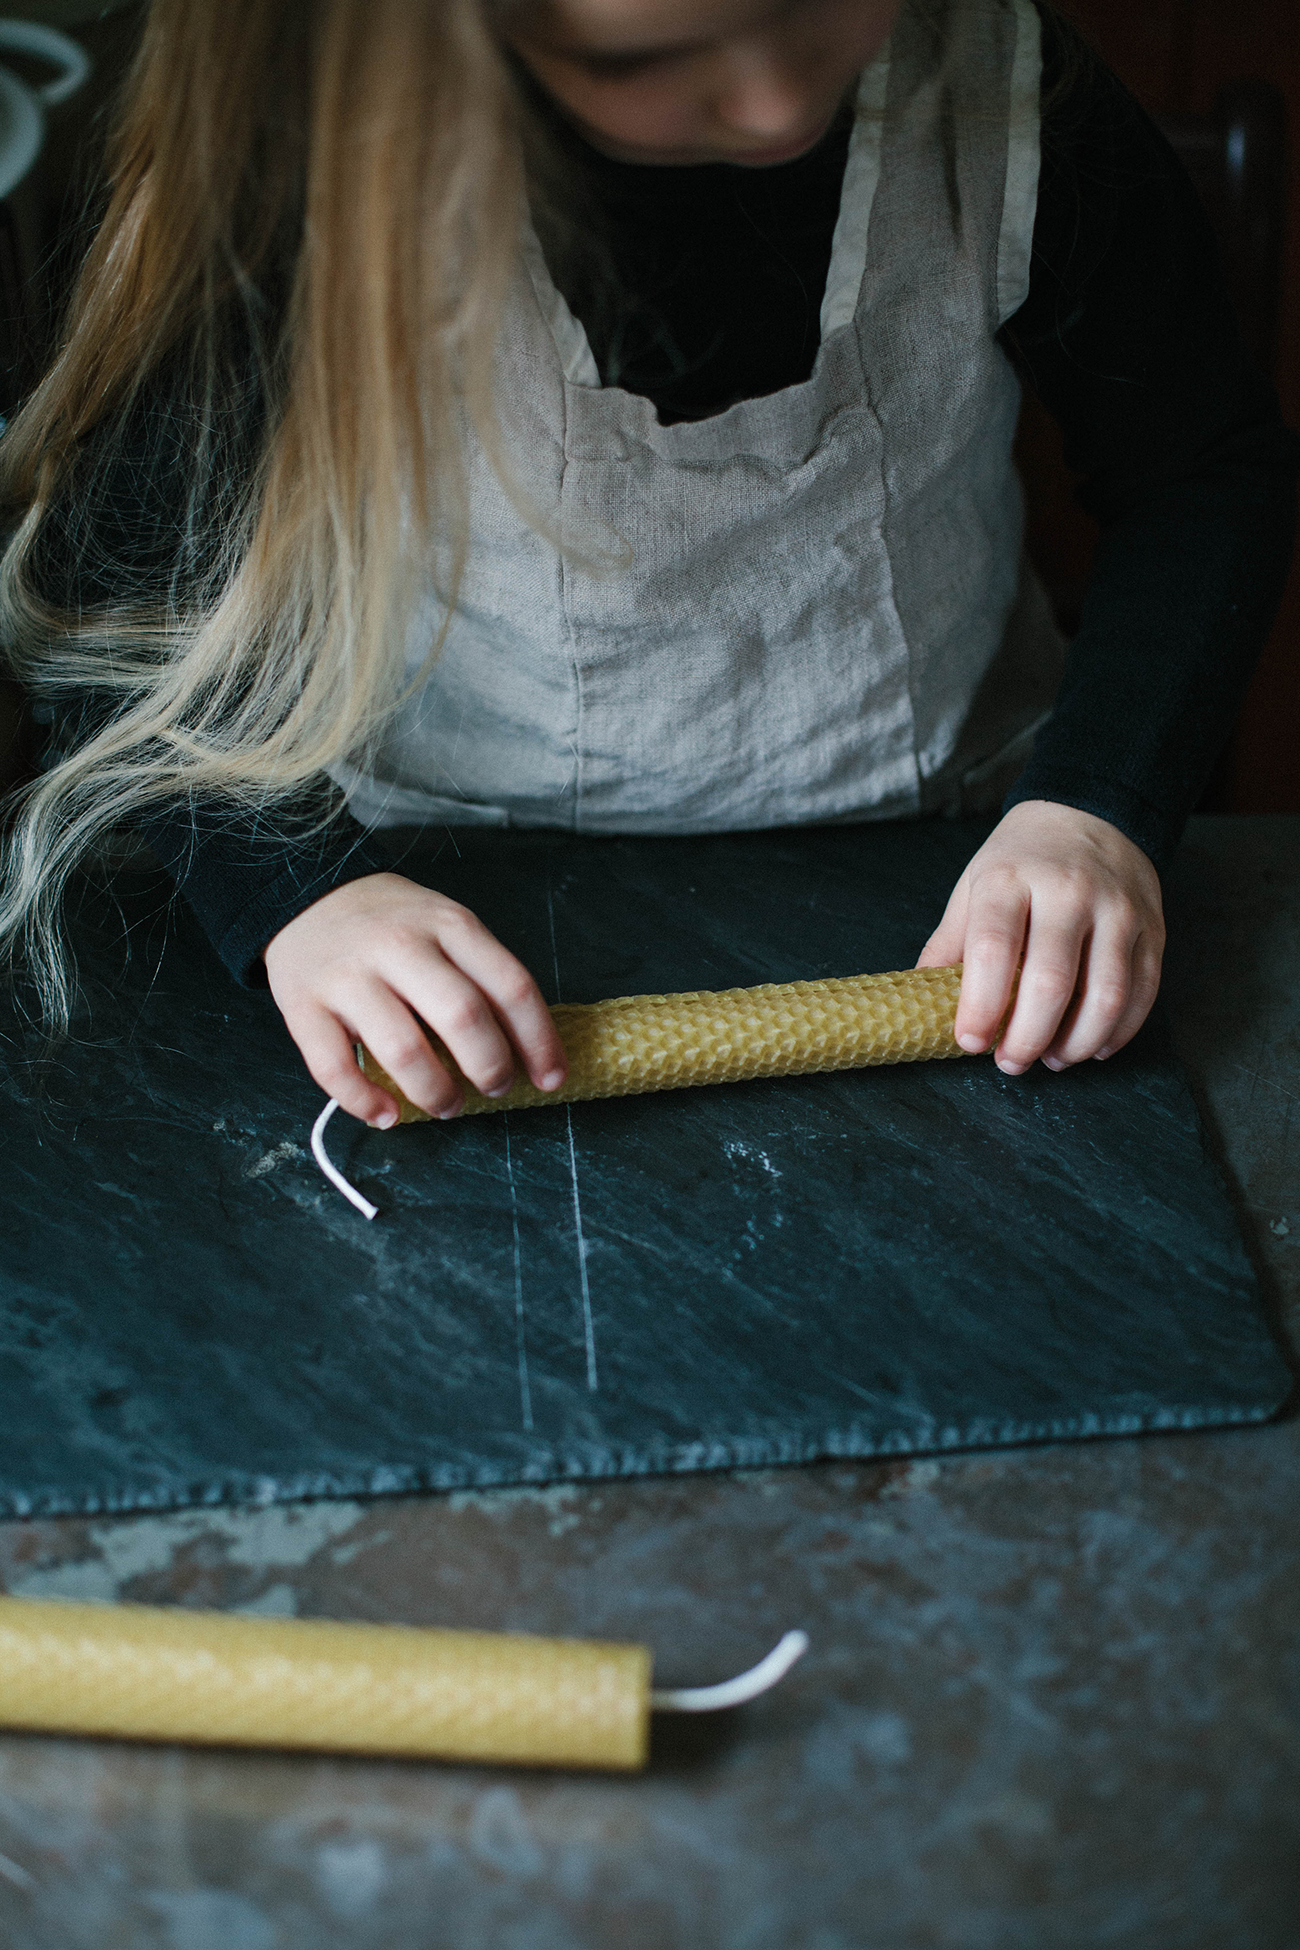
And if you want to create these beautiful and simple hand rolled beeswax candles, you can! They’re almost TOO EASY to make. I bought these sheets of beeswax in natural and you literally just roll the sheets around the wick. We got two candles out of each sheet, for a total of 20 candles, which means they are $2 each. It’s hard to find beautiful beeswax taper candles for this price anywhere else. So, we’ve been converted to rolling our own candles. And these beeswax candles are going to make the best gifts! Friends and family be warned: you’ll be receiving these from us at some point.
To make your own candles, here are the details:
DIY Hand Rolled Beeswax Candles
makes 20 candles
Supplies
Beeswax sheets (they come with cotton wick)
Sharp knife
Pencil
Ruler
Cutting board
Scissors
Hairdryer (to soften beeswax to prevent cracking)
Directions
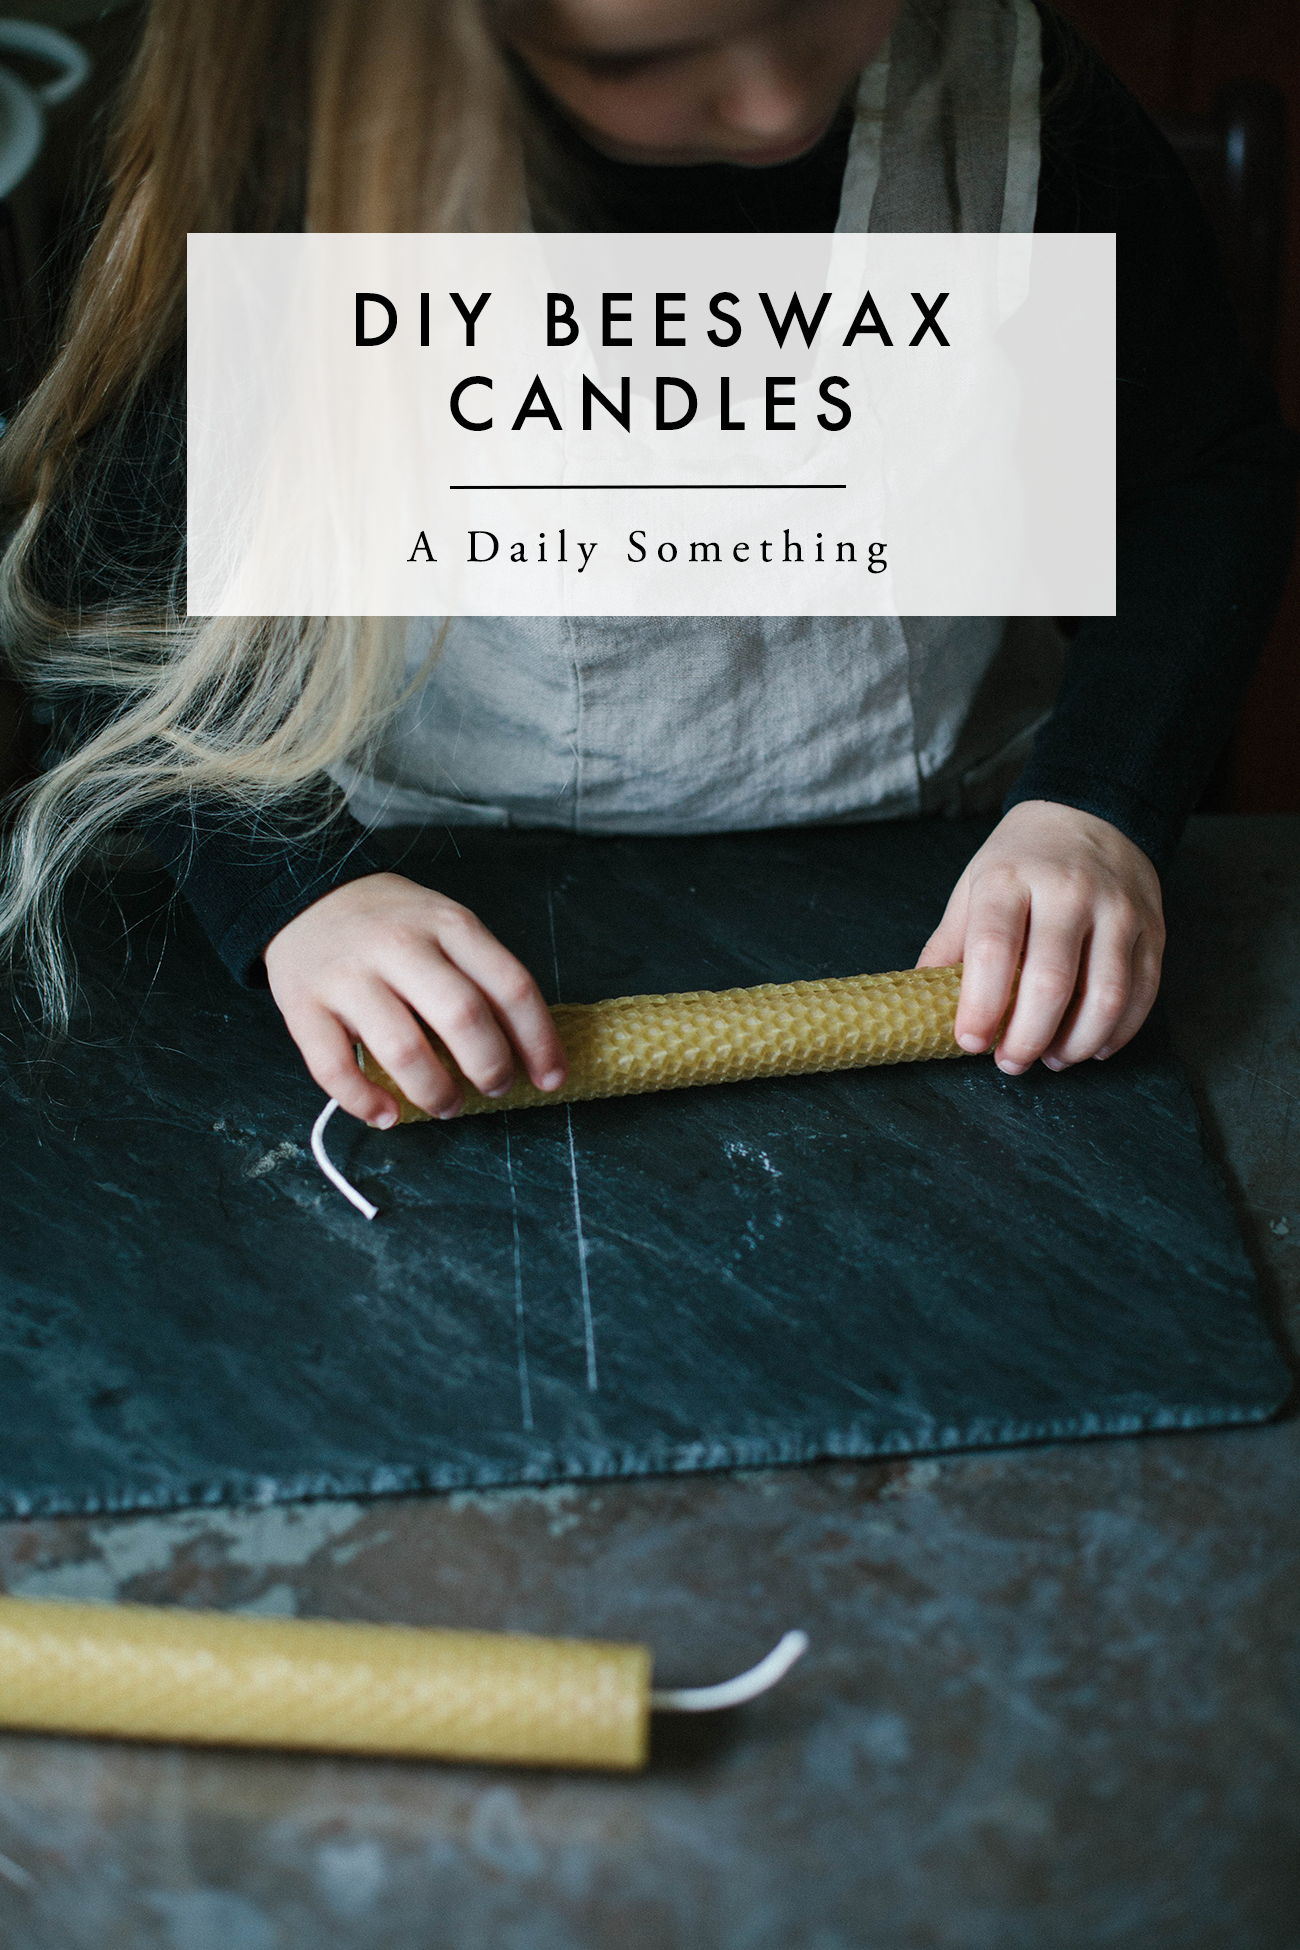
Using the ruler and pencil, mark the line to cut the beeswax, approximately down the middle of the sheet. Using the sharp knife, cut the beeswax sheets in half to make two sheets of beeswax measuring approximately 8″ x 8 1/4″.
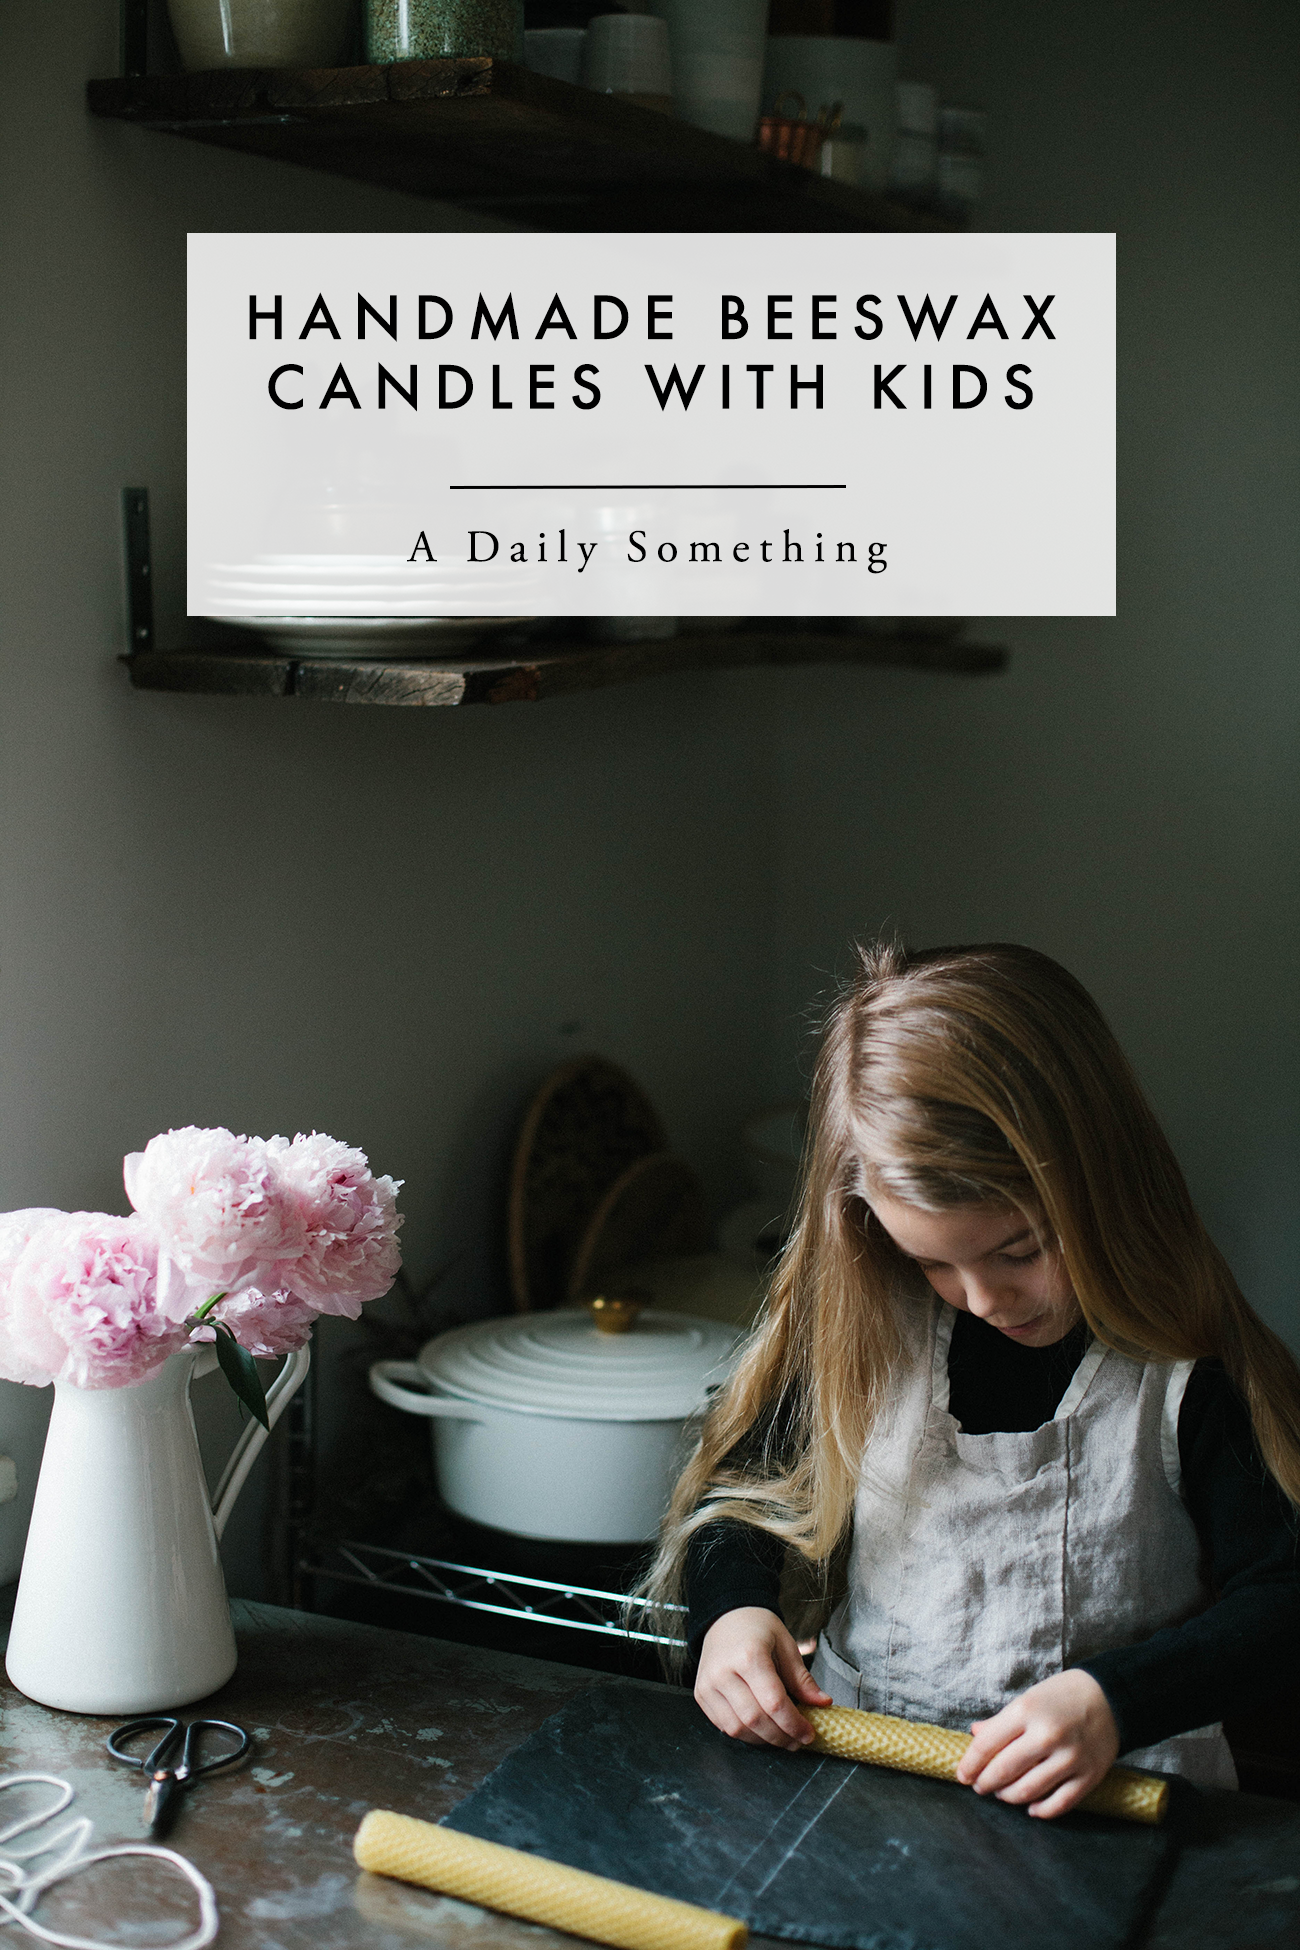
Then lay a 9″ piece of cotton wick along the edge of the cut sheet and begin to roll around the wick. You want to first roll to be pretty tight around the wick. You may need to use the hairdryer at this point to gently soften the beeswax if it looks like it’s going to crack. Then gently continue to roll the beeswax sheets. You want to apply gentle pressure, enough to keep it together, but not enough to break the sheets or damage the pattern. Carefully keep the sheet staring as you roll. When you get to the end, gently press the raw edge into the rolled candle. Again, you don’t want to damage the beeswax pattern, so be careful!
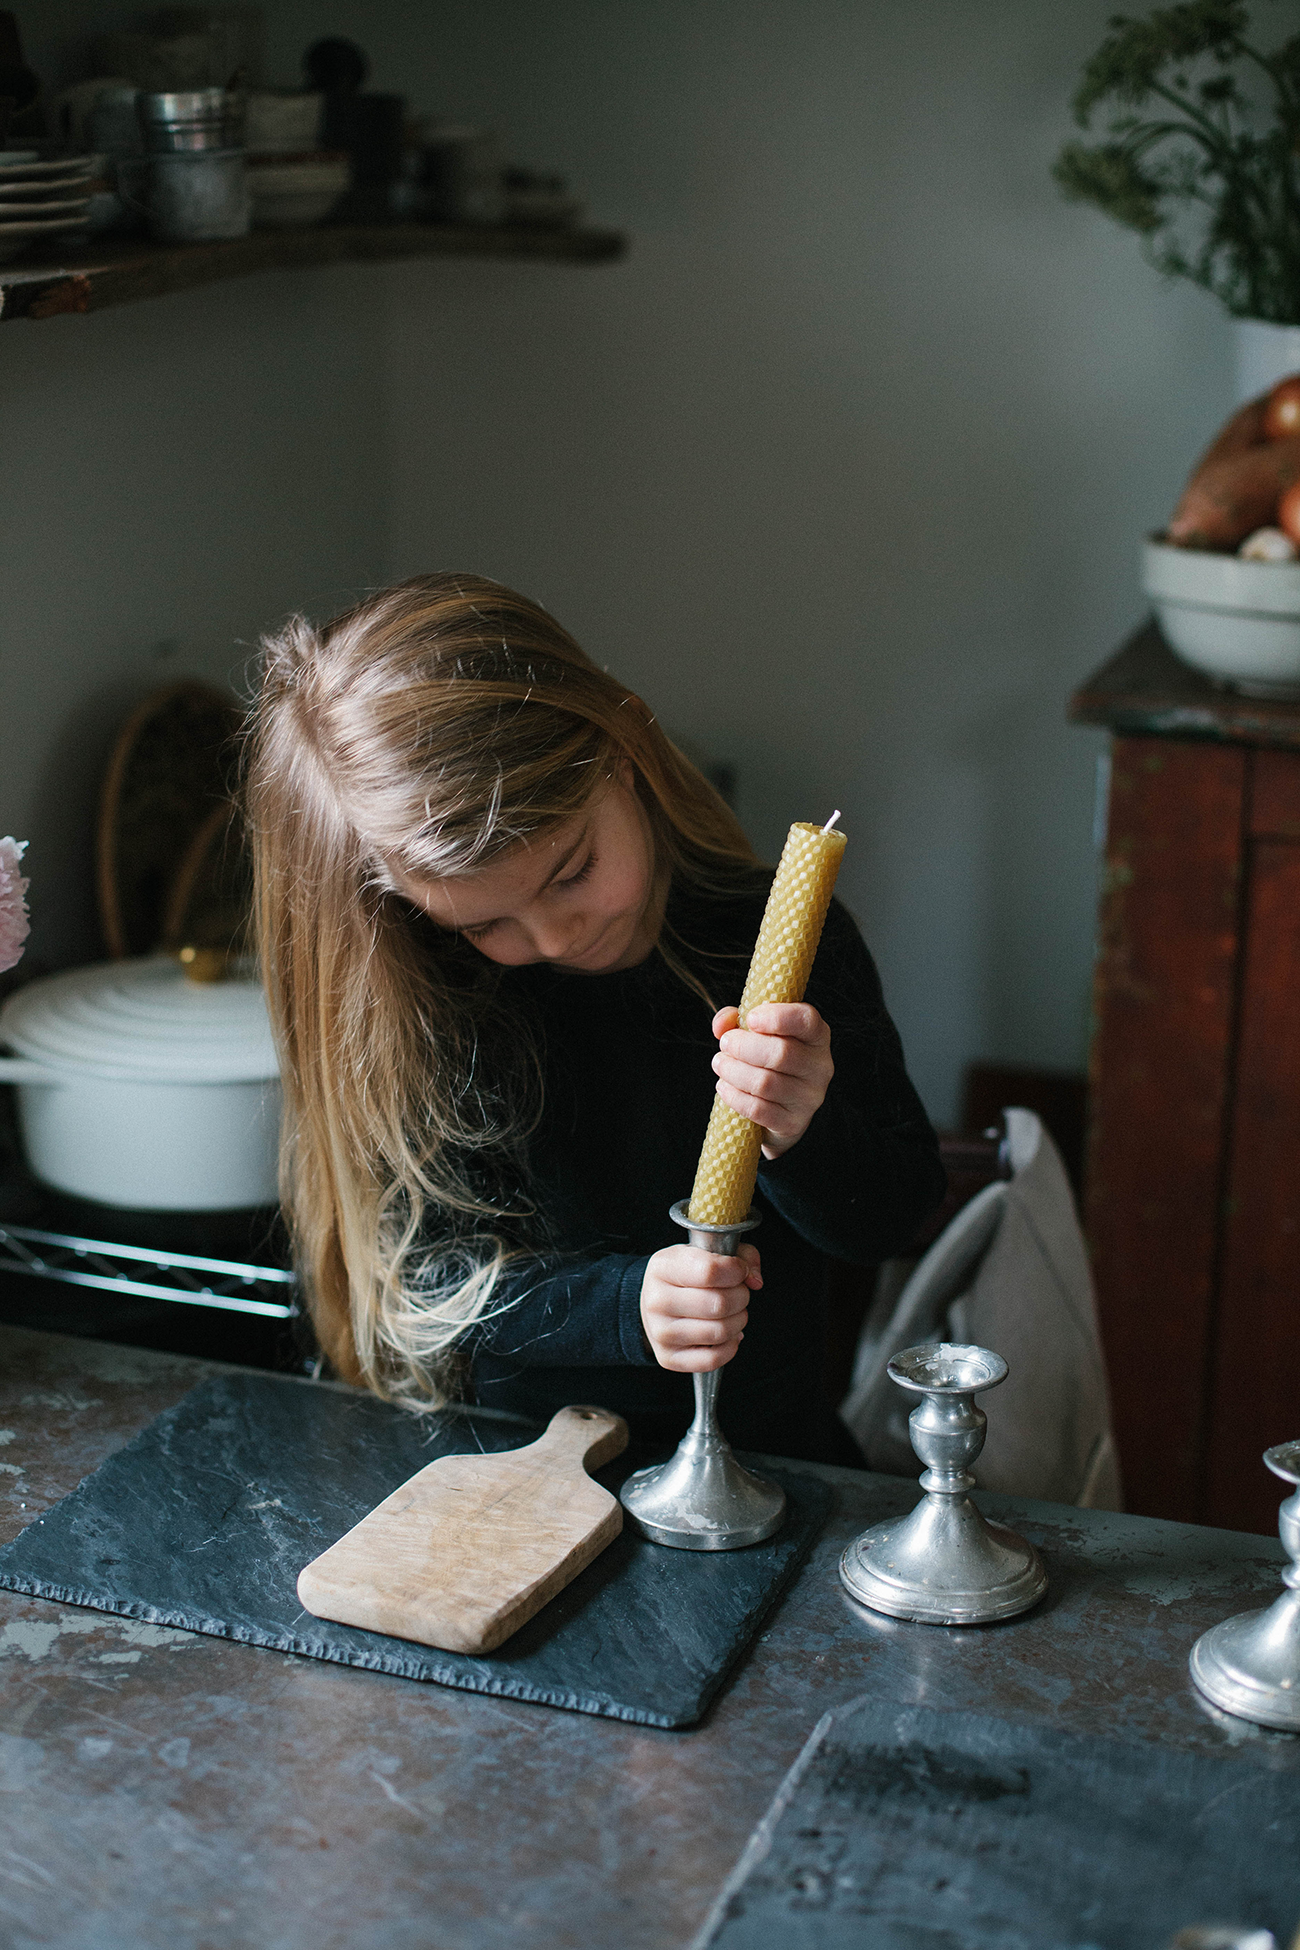
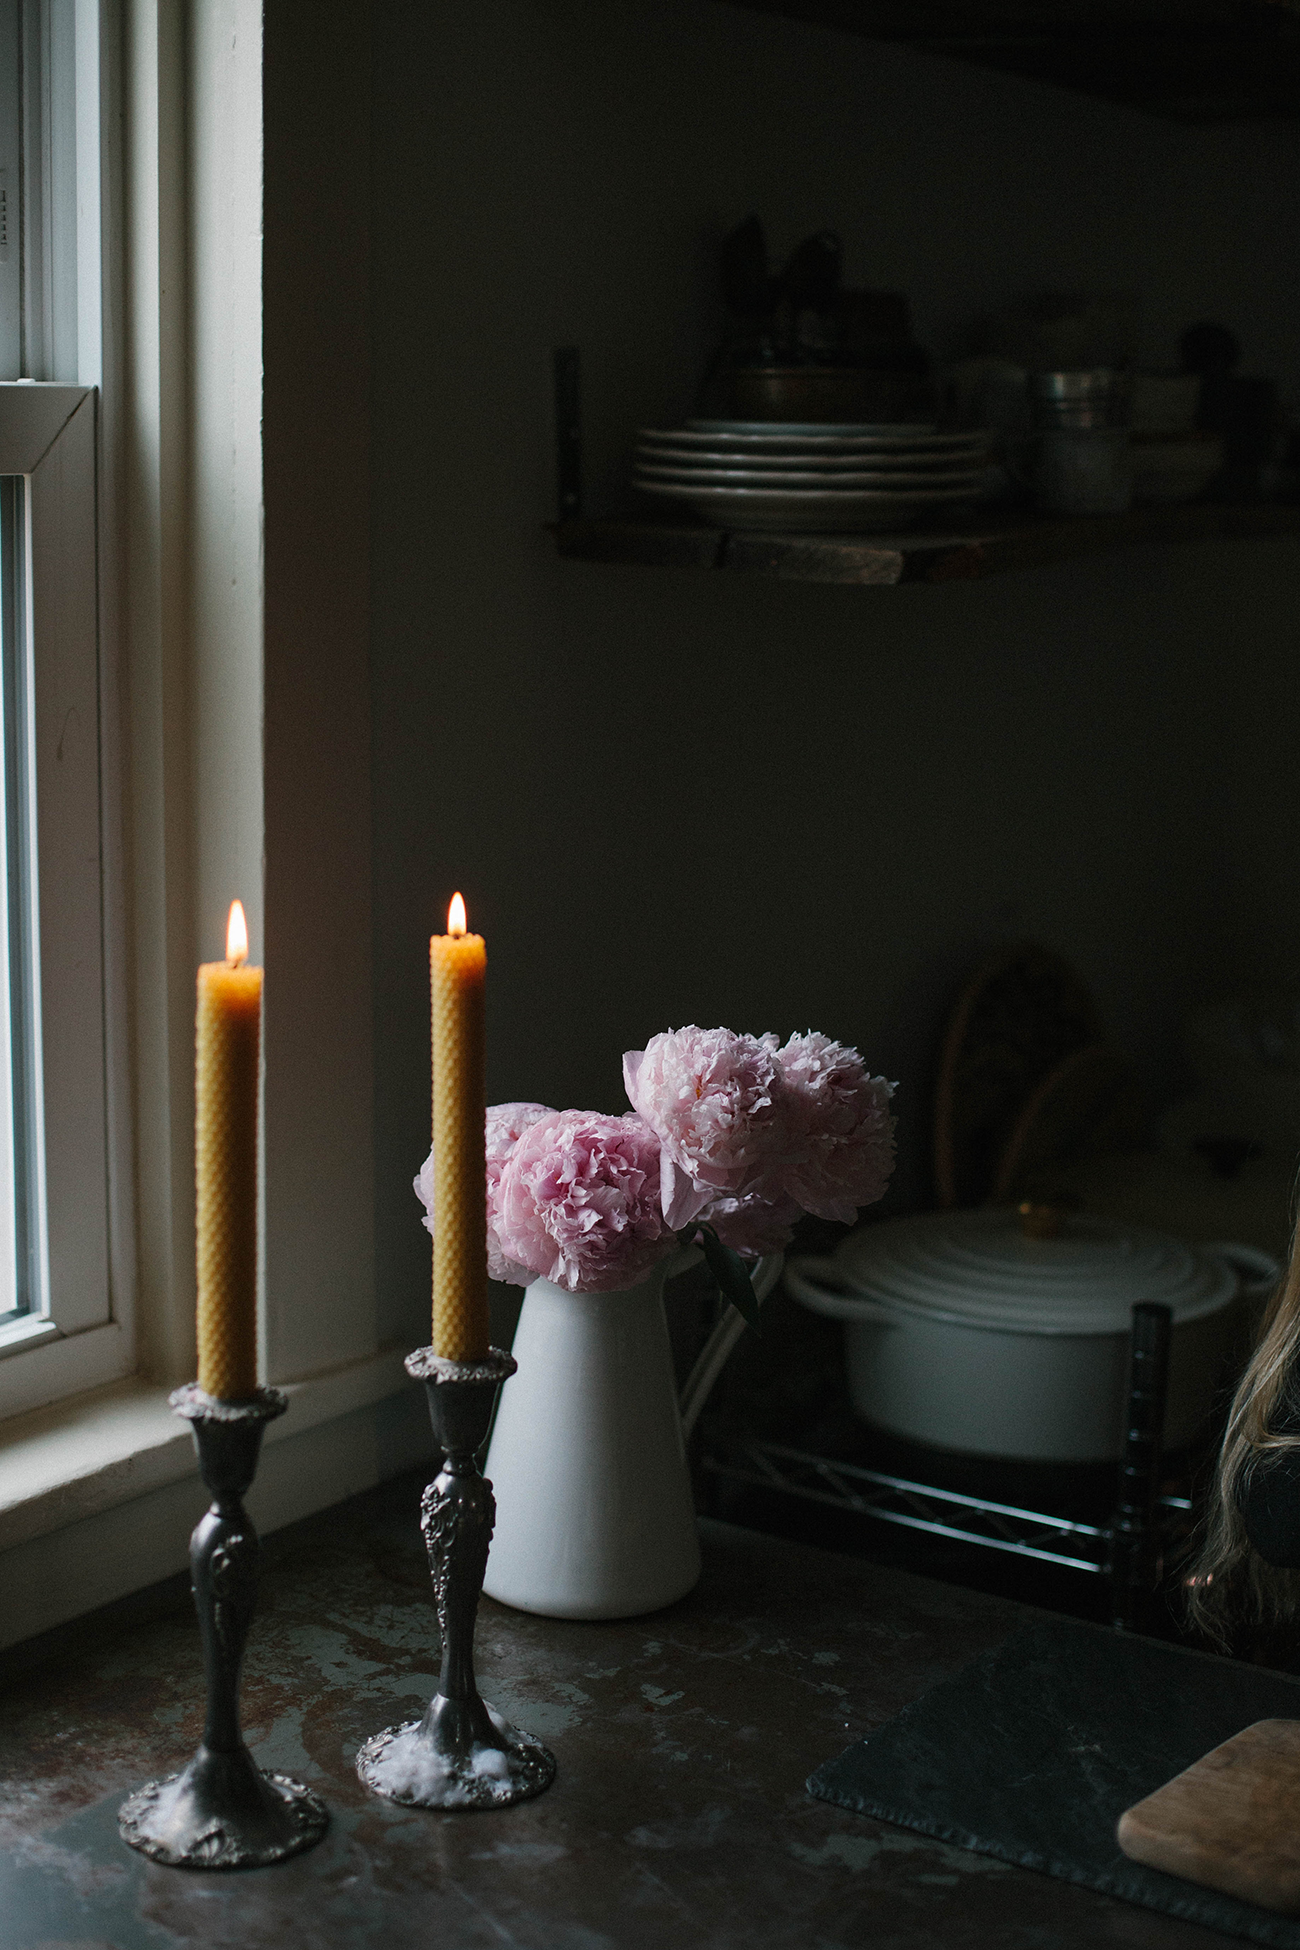
This was a simple enough activity that my two daughters (ages 4 1/2 and 3) were able to do this themselves! I had to help Naomi – my 3 year old – with the initial roll and securing of the wick, but otherwise, they were able to do this alone. They felt so accomplished to see the candles come together and they didn’t want to stop making candles! We lit them at dinner that evening, and because it was a “special dinner” they whispered the entire dinner. I think we’ll be lighting candles at dinner more often. 😉
*This post has affiliate links, meaning if you choose to buy something, I will make a small percentage of the sale so I can continue to write and support my family (at no extra cost to you). It would mean the world to me if you like an item you see, to purchase it directly through my link.
Leave a Reply
Disclosure.
Discovering how to infuse our lives—ourselves, our work, our relationships, our homes, and our entertaining spaces—with simple beauty, more intention, and slow living principles.
Interested in working together?
Click here to visit the Contact page and get in touch.
PORTFOLIO
© 2020 A Daily Something — All Rights Reserved.
Design by TONIC.
Learn more about A Daily Something styling services, content creation offerings and view curated work.
CONTACT + COLLABORATE
MANIFESTO
Join the list to receive our thoughtful monthly letters, and to be the first to know of upcoming workshops, dinners, gatherings, and more.
SUBSCRIBE
ALL PHOTOS AND IMAGES ON A DAILY SOMETHING ARE BY A DAILY SOMETHING UNLESS OTHERWISE NOTED. IF YOU SEE AN IMAGE THAT IS NOT PROPERLY SOURCED, PLEASE LET US KNOW AND WE'LL UPDATE THE INFORMATION! IF YOU WOULD LIKE TO SHARE A PHOTO OR TUTORIAL FROM A DAILY SOMETHING, PLEASE ONLY SHARE ONE PHOTO, WHICH MUST BE CREDITED AND LINKED BACK TO A DAILY SOMETHING.
SPONSORED POSTS WILL ALWAYS BE DISCLOSED AND ANY GIFTED ITEMS WILL BE MARKED C/O. WE ONLY WORK WITH COMPANIES THAT ARE A GOOD FIT FOR THE A DAILY SOMETHING AESTHETIC AND CONTENT. THANK YOU FOR SUPPORTING THE COMPANIES THAT ENABLE US TO CONTINUE PRODUCING QUALITY CONTENT.
Please help. I am making my own beezwax candlea and am battling with how they should burn. I get mixed up with the wick. I have a 2/0 wick prewaxed and a 1/0 wick prewaxed off amazon. What size diameter candle should these go with.
Heidi
Hi Heidi! I’m not 100% sure since our beeswax sheets came with the wick and I’m not a pro candle maker. 🙂 Did you order the kit I used from amazon? If not, hope you were able to find an answer online!
[…] useful gifts for others. Some of our favorites over the years have been beeswax candles, essential oil rollers, herbs de Provence sea salt, and this year the girls are hand sewing […]